
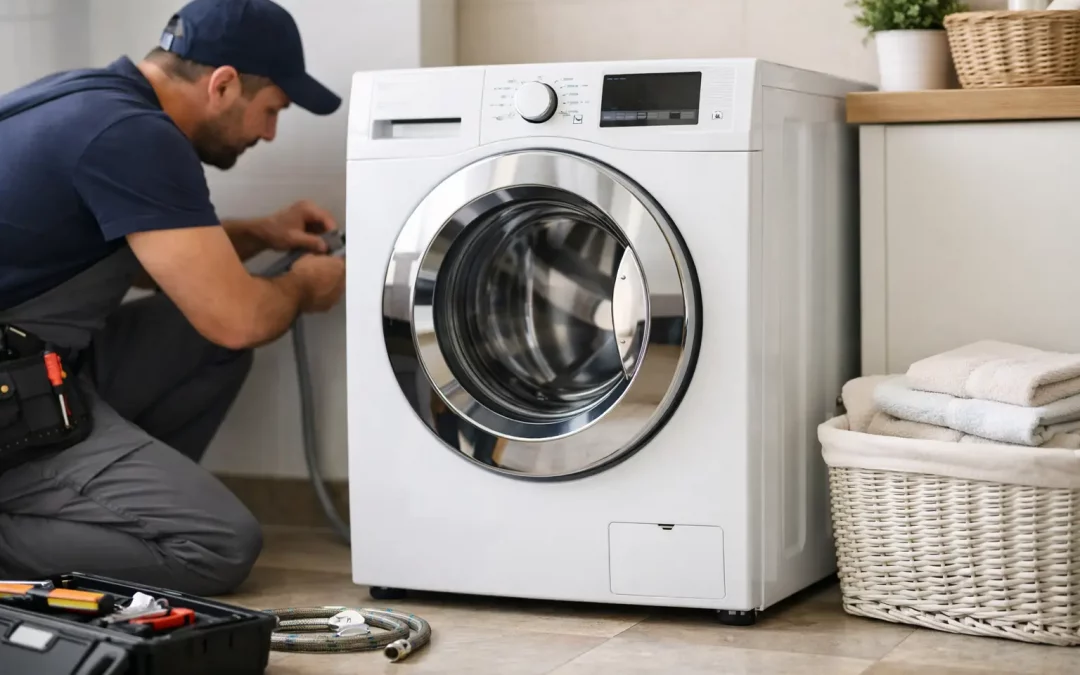
A new washer should make laundry easier, not create a surprise puddle behind the machine. Proper washing machine installation Halifax homeowners can rely on starts with the details that are easy to miss: sound shutoff valves, secure hose connections, the correct drain setup, and a machine that sits level on the floor.
Whether you are replacing a failed washer, moving into a new home, or setting up laundry in a rental property, taking a few minutes to assess the space can prevent leaks, vibration, drainage problems, and avoidable service calls later.
What a Safe Washer Installation Includes
A washing machine needs three basic connections: hot and cold water supply, a drain connection, and a properly grounded electrical outlet. That sounds simple, but each connection has conditions that affect how safely and reliably the machine will run.
The water shutoff valves should turn freely and fully stop the flow of water. In older Halifax-area homes, valves may be seized, corroded, or hidden behind a washer that has not been moved in years. Connecting new hoses to a failing valve does not solve the underlying issue. If a valve drips when opened or will not shut off, have it addressed before the washer is put into regular use.
Use new, high-quality inlet hoses when possible, especially if the existing hoses are several years old, cracked, stiff, or showing corrosion around the fittings. A burst supply hose can release a great deal of water in a short time. Avoid overtightening the connectors – hand-tighten first, then give each fitting a small additional turn if required. The goal is a watertight seal, not damaged threads or a crushed washer.
The drain hose also needs attention. It must be secured in the standpipe or laundry sink without being pushed too far down, kinked, or sealed airtight. An airtight drain connection can interfere with proper draining, while a loose hose can jump out during a high-volume drain cycle. The standpipe should be clear enough to handle the washer’s discharge rate. If water backs up into a laundry sink or spills from the pipe, the issue may be with the home plumbing rather than the appliance.
For power, plug the washer directly into a suitable grounded wall outlet. Extension cords and power bars are not a safe long-term solution for major appliances. If the outlet is loose, damaged, ungrounded, or inconveniently located, arranging an electrical repair is the better choice.
Preparing the Laundry Space Before Delivery
The best time to find an installation problem is before the new washer is in the room. Measure the doorway, stairway, hallway, and laundry opening, then compare them with the appliance dimensions. Remember to allow space for hoses, power cords, doors, and ventilation around the unit.
A washer also needs a solid, reasonably level surface. Vinyl, tile, concrete, and properly supported flooring can all work well. A soft or uneven floor can make even a correctly installed machine shake during the spin cycle. In older homes, a bouncy floor may need more than a quick adjustment of the washer feet.
If the washer is being installed in a closet, condo laundry area, or tight basement corner, leave enough room to reach the valves and unplug the unit if necessary. It is tempting to push a machine all the way back to gain floor space, but pinched hoses and crushed drain lines are common causes of leaks and poor draining.
For a newly delivered front-load or top-load washer, make sure all shipping materials and transit bolts have been removed according to the manufacturer’s instructions. Transit bolts are designed to protect the drum during transport. Leaving them in place can cause severe vibration, noise, and internal damage when the washer begins spinning.
Levelling Is Not a Minor Detail
Many washer complaints begin with, “It worked fine until the spin cycle.” Often, the issue is not a defective machine. It is an appliance that was never properly levelled.
Each adjustable foot should sit firmly on the floor. With the washer empty, press on opposite corners of the cabinet. It should not rock. Use a level across the top of the machine and adjust the feet gradually until it is stable from side to side and front to back. Locking nuts, where fitted, should be tightened after the adjustment so the feet do not shift over time.
A slight amount of movement during a fast spin can be normal, particularly with bulky items such as towels or bedding. Walking across the floor, repeated banging, or a machine that moves away from the wall is not normal. Stop the cycle if this happens. Check for an unbalanced load, confirm the transit bolts are removed, and inspect the floor and levelling feet before running another load.
Anti-vibration pads can help in some situations, particularly on hard floors, but they are not a fix for a machine that is poorly levelled or sitting on a weak surface. The right solution depends on the cause of the movement.
The First Test Cycle Matters
Do not wait until laundry day to find out that a connection is leaking. Once the washer is connected, run a short test cycle with the machine empty or with a small load. Watch the supply hoses and valve connections as water enters. Then check the drain area when the pump starts.
Look behind and beneath the appliance for moisture before and after the cycle. A slow drip can take time to appear, so check again after the washer has filled, agitated, drained, and spun. Listen for unusual scraping, loud knocking, or repeated thumping. A new washer may make different sounds than your old model, but harsh vibration or a drain pump struggling to clear water deserves attention.
It is also a good idea to confirm that both hot and cold water settings work as expected. Reversed supply hoses can cause incorrect wash temperatures and may affect cycles that rely on a specific water temperature.
When Professional Installation Is the Better Choice
Some installations are straightforward. If the connections are accessible, the valves work properly, the drain is clear, and the floor is stable, a homeowner may be comfortable completing the setup using the appliance manual.
Professional help is worth considering when the installation involves a stacked laundry pair, tight cabinetry, a pedestal, a difficult basement access route, old plumbing, damaged valves, recurring drain backups, or a washer that has already been vibrating or leaking. Landlords and property managers may also prefer documented professional work when preparing a unit for new tenants.
A technician can identify issues that are not visible during a quick delivery setup, such as a deteriorated hose, an incorrectly sized drain arrangement, or a floor condition that will cause repeat imbalance errors. This is particularly useful when replacing an older washer. The new appliance may use water differently or spin faster than the model it replaces, exposing a weakness that was not obvious before.
Instant Appliance Repair provides local in-home appliance support for washer installation, maintenance, and diagnosis across Halifax Regional Municipality and nearby Nova Scotia communities. The focus should always be on a safe connection, a stable machine, and clear advice about anything in the laundry space that needs attention.
Simple Habits That Protect Your New Washer
After installation, leave the water valves accessible and inspect the hoses occasionally for bulges, cracking, rust, or dampness. Replace worn hoses promptly rather than waiting for a failure. If you are away from home for an extended period, consider shutting off the washer water supply, especially in homes where the laundry area is on an upper floor.
Avoid overloading the drum. Overstuffed loads put extra strain on the suspension, motor, bearings, and drain system, while small uneven loads can cause excessive vibration. Clean the detergent drawer and, for front-load models, wipe the door seal periodically. Leaving the door slightly open between loads can help reduce moisture and odours.
If you notice water on the floor, a burning smell, a repeated error code, or a washer that suddenly becomes much louder, stop using it until the cause is identified. A quick response can protect both the appliance and the surrounding flooring.
A washer that is connected securely, levelled carefully, and tested before its first full load gives you something better than a smooth installation: confidence that laundry can return to being an ordinary part of the week.