
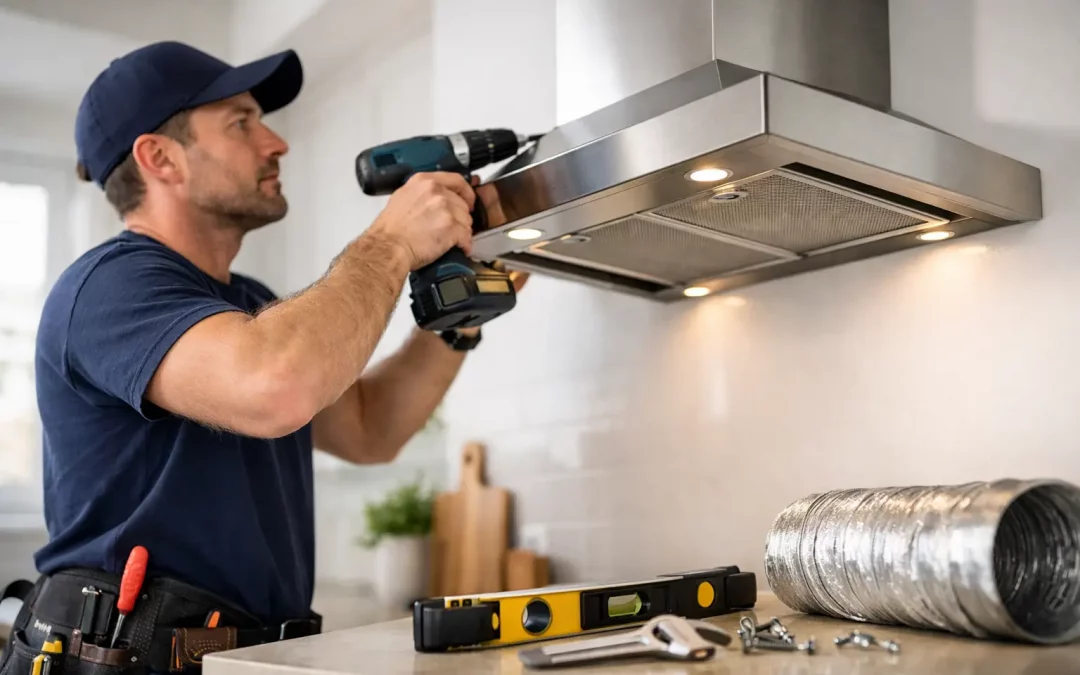
A range hood may look like a simple kitchen upgrade, but it manages heat, grease, steam, odours and, in some homes, combustion byproducts. A loose mounting bracket, undersized duct, or unsafe electrical connection can turn a useful appliance into a noisy, ineffective problem. If you are researching how to install range hood equipment in your home, start by confirming that the hood, cabinet space, wiring and venting method all work together.
For straightforward replacements, a capable homeowner may be able to complete the job. New ductwork, an exterior vent, hardwired electrical work, gas cooking appliances, or heavy chimney-style hoods usually call for a qualified installer. Getting it right protects your cabinetry, improves indoor air quality and helps the hood last longer.
Before You Install a Range Hood, Choose the Right Setup
The installation process depends on whether your range hood vents outdoors or recirculates air back into the kitchen. A ducted hood pulls cooking air through metal ductwork and exhausts it outdoors. This is generally the better choice for homes that do frequent frying, high-heat cooking, or cooking on a gas range. It removes moisture and odours rather than filtering and returning them to the room.
A ductless or recirculating hood uses grease filters and charcoal filters. It can be a practical option in a condo, apartment, or kitchen where adding an exterior vent is not possible. The trade-off is that it does not remove heat or humidity as effectively, and charcoal filters need regular replacement.
Measure the cooktop before buying or installing anything. The hood should be at least as wide as the cooking surface. A 30-inch range usually needs a 30-inch hood, while a wider cooktop benefits from a wider canopy. Check the manufacturer’s installation guide for the required clearance between the cooktop and hood. This is often different for electric and gas ranges, and it must also fit the hood’s specifications.
Do not assume an existing hood is installed correctly just because it has been there for years. Older installations sometimes vent into an attic, wall cavity, garage, or another enclosed space. Kitchen exhaust should terminate outdoors, not release grease-laden air where it can cause moisture damage or become a fire concern.
Tools and Materials You May Need
The exact materials depend on the hood and vent route, but most installations require a drill, bits, stud finder, level, tape measure, screwdriver, wire connectors, screws, and safety glasses. For ducted models, you may also need metal duct sections, elbows, foil HVAC tape, a wall or roof cap, and exterior-grade sealant.
Use smooth metal ducting wherever possible. Flexible duct is harder to clean and can restrict airflow, especially when it is bent or compressed. Keep the duct run short and direct, with as few turns as practical. Every long run and sharp elbow reduces performance and can make the fan noticeably louder.
Before starting, read the manual for your specific model. It tells you the permitted duct sizes, electrical requirements, mounting height, and whether the unit can be converted between top venting, rear venting and recirculating operation.
How to Install Range Hood Units Step by Step
Turn off power and prepare the work area
Switch off the circuit serving the range hood at the electrical panel. Test that the power is off before touching any wiring. Clear the cooktop, protect it with a drop cloth or sturdy cardboard, and remove the old hood if you are replacing one.
If the old unit is hardwired, take a photo of the wiring before disconnecting it. This can help identify the cable route, but do not rely on wire colours alone. If you find damaged insulation, loose connections, aluminium wiring, or no suitable electrical box, stop and arrange professional electrical service.
Mark the location carefully
Find and mark the centreline of the cooktop on the wall. Transfer that line upward to position the hood so it is centred over the appliance. Measure the required mounting height from the cooking surface, not from the countertop.
Next, locate wall studs. Many under-cabinet hoods can fasten through the cabinet bottom, but the mounting method varies. Wall-mounted and chimney hoods often need secure anchoring into studs or properly rated wall anchors. A range hood is not something to hang from drywall alone.
If you are fitting a hood beneath a cabinet, check that cabinet doors will still open and that the electrical cable and duct opening have a clear path. For a chimney hood, make sure the upper chimney cover will reach the ceiling at the selected mounting height.
Cut and connect the vent opening
For a new ducted installation, use the template supplied with the hood to mark the opening for the duct and electrical cable. Confirm there are no pipes, wires, structural components, or exterior obstructions in the planned path before cutting.
Cut the interior opening, then drill a small pilot hole through the exterior wall at the centre of the proposed vent. Go outside and verify the location before cutting the full opening. The exterior cap should not be blocked by decks, landscaping, or another building feature, and it should have a functioning damper to keep cold air and pests out.
Connect the ductwork with the crimped ends pointing in the direction of airflow. Seal each joint with foil HVAC tape, not cloth duct tape. Avoid screws that protrude into the duct, because grease can collect on them over time. Secure the exterior cap and seal around it to prevent water intrusion.
A roof vent can be necessary when a wall route is not practical, but it is a more involved project. Roof penetrations must be flashed and weatherproofed correctly. In Nova Scotia’s wet, windy conditions, this is not an area for guesswork.
Mount the range hood securely
Many hoods require two people for safe installation. Lift the unit into place, guide the duct collar into the duct opening, and fasten the hood according to the manufacturer’s instructions. Check it with a level before fully tightening the mounting screws.
Do not force a misaligned duct connection. If the hood does not sit flush or the duct is pulling it out of position, correct the duct route first. A strained connection can cause vibration, poor airflow and rattling during use.
For a recirculating model, install the charcoal filters and any air deflector required by the manufacturer. The hood still needs to be firmly mounted and correctly wired, even though no outdoor duct is involved.
Complete the electrical connection
Some range hoods plug into a dedicated receptacle inside the upper cabinet. Others are hardwired. Follow the manufacturer’s requirements and local electrical rules for your setup.
With a hardwired unit, wiring should be contained in an approved junction box with the cable properly secured. Connect the grounding conductor and match the supply wires to the hood wires as specified in the manual. Never run an extension cord into a cabinet, leave wire connections exposed, or bypass the grounding connection to make an old installation fit.
If you are uncertain about the circuit, breaker size, or wiring method, bring in a qualified technician or electrician. The cost of correcting a questionable connection is usually far less than dealing with a damaged hood, failed inspection, or electrical hazard later.
Test airflow before finishing
Restore power and test each fan speed and light setting. With a ducted hood, hold a sheet of tissue near the grease filter to confirm that the fan is drawing air upward. Then check outside to make sure the exterior damper opens when the fan runs.
Listen for excessive rattling or vibration. A small amount of fan noise is normal, but loud shaking often means the hood is not secure, the blower is touching ductwork, or the duct is restricted. Recheck the filters, duct connection and mounting screws before closing up any trim.
Common Range Hood Installation Mistakes
The most common mistakes are easy to miss because the hood may still turn on. Venting into an enclosed area, using duct that is too small, adding too many elbows, and failing to seal joints can all reduce airflow. Another frequent issue is mounting the hood too high, where it looks balanced with cabinetry but cannot capture cooking smoke effectively.
It is also easy to overlook filter maintenance. Metal grease filters should be cleaned regularly, especially in homes that cook often. Recirculating hoods need fresh charcoal filters on the schedule recommended by the manufacturer. A clean filter supports better airflow and reduces grease buildup inside the unit.
When It Makes Sense to Call a Professional
A professional installation is the sensible choice when the job involves a new exterior vent, roof work, hardwired electrical changes, cabinetry alterations, or a heavy wall-mounted hood. It is also worth calling for help if your existing hood has weak suction, drips grease, trips a breaker, or exhausts into the wrong location.
For homeowners across Halifax Regional Municipality and nearby Nova Scotia communities, Instant Appliance Repair can help with range hood installation, diagnosis and practical advice on whether a repair or replacement makes better sense. A properly installed hood should be quiet enough to live with, strong enough to clear the air, and secure enough that you do not have to think about it again each time dinner is on the stove.